Protein Milkshakes Perfect for Meal Prep
There may not be a more delicious way to start your day than with these protein milkshakes.
To make things even better, I’m going to walk you through how to prep these milkshakes ahead of time and in bulk. All you’ll need to do is throw your mixture into a blender in the morning and you’ll have a protein milkshake ready to take with you on the go.
Not only do these taste like legitimate milkshakes, but these protein milkshakes are a GREAT source of protein.
Oh yeah, and these do not require any ice cream, either. That’s right: we’re going to make healthy milkshakes without ice cream!
Each vanilla protein shake base contains 255 calories, 2g fat, 22g carbs, and 38g of protein.
Then, all you have to do is account for any mix-ins or toppings you’d like on your milkshake. Oreos, Biscoff cookies, Fruity Pebbles, Cinnamon Toast Crunch, you name it. The possibilities are endless here.
Ingredients needed for protein milkshakes
For these protein milkshakes, we’re going to mix up a base vanilla milkshake recipe that we can then customize however we’d like!
By starting with a basic vanilla protein shake, it allows us to add any flavorings and toppings we’d like, so every single day can gift us with a completely unique protein milkshake.
All we have to do is make the mixture, freeze, then blend.

The main ingredients for the base are skim and PEScience , but we’ll also be using some extract and powdered .
We don’t need any , , , , or other ingredients commonly seen in frozen shakes. Here’s why each ingredient I chose is important:
Skim Milk
I use skim milk in these protein milkshakes because it fluffs up better than any other type of milk. Check out my Cold Foam Recipe to see the differences between skim milk and other types of milk, specifically almond milk.
You can swap skim milk for a different type of milk, but it won’t lead to quite as creamy and fluffy of a milkshake. Since we want these to mimic actual milkshakes, skim milk (or another type of dairy milk like 2%) is going to work the best. You can use to save calories, but your milkshake will not be very creamy.
PEScience Protein Powder
In case you’re new around here, I use PEScience in all of my recipes, and there are two good reasons for that.
First and foremost, I truly believe it’s the best-tasting protein powder out there. I use the vanilla protein powder in the majority of my recipes because it’s so versatile, and it works perfectly for a recipe like this one.
Secondly, PEScience protein powder is a blend of whey & casein protein powder, which works significantly better than whey protein alone.
The addition of casein leads to a smoother, fluffier result. Just check out my Protein Fluff recipe to see how this type of protein can completely change the volume of your smoothies.
You can use another type of protein, but your result is not going to be as fluffy and creamy as what you see here.
I highly recommend following the recipe as closely as possible, so you should pick up some PEScience protein! If you do, be sure to use the code “Matt” to save 10% and help support me and my recipe creation.
Additional Ingredients Needed
Outside of skim milk and protein powder, all we need is vanilla extract and some powdered sugar.
I use a 0-calorie powdered sugar substitute to save some calories, but regular powdered sugar will work great here. It’s a small amount, so the caloric impact will be very minimal.

When it comes to vanilla extract, try to use ACTUAL vanilla extract. For the longest time I used “imitation vanilla,” but the difference in flavor is night and day.
Since we’re not using any ice cream for these milkshakes, we need to try to mimic the flavor as much as possible, and real vanilla extract will help us accomplish that.
How to meal prep protein milkshakes
To make these protein milkshakes for meal prep, all we need to do is mix up the base recipe and freeze them as individual portions.

Just like with my Soft Serve Ice Cream recipe, I like to mix everything up and then pour the mixture into a gallon-sized freezer bag. When you do this, you can lay the bag flat in the freezer, and you can prep multiple portions at once.
By having each healthy milkshake base prepped in a separate bag, all you need to do is remove one from the freezer when you’re ready to make your milkshake and you’ll be ready to go!
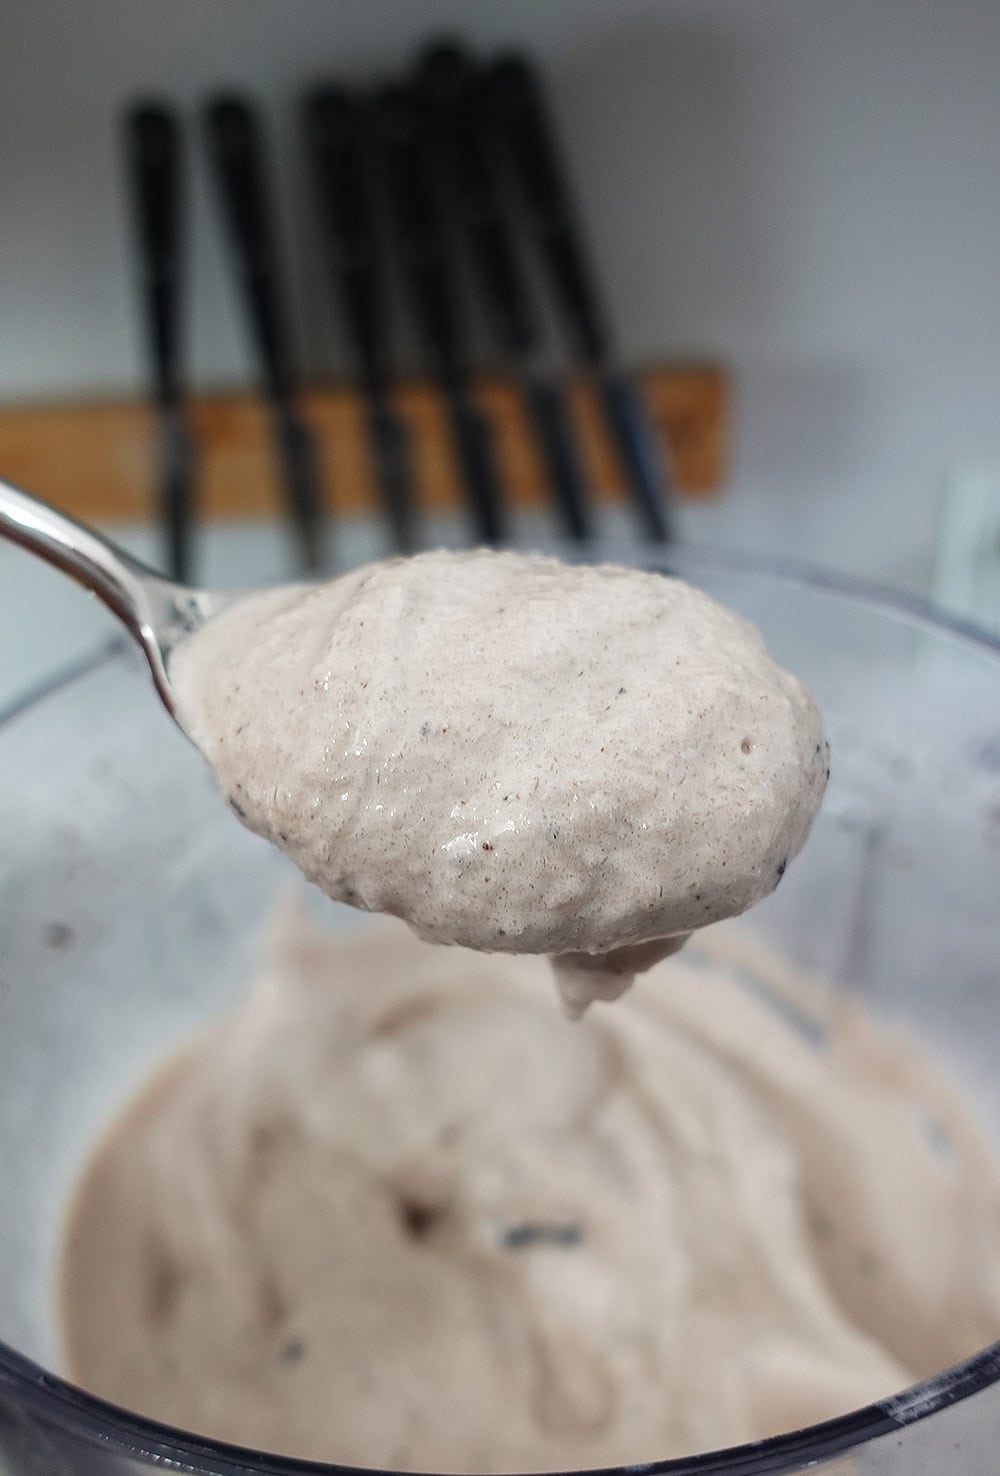
All you need to do is break the mixture apart and add it to a blender, no measuring required.

Add 2 ounces of additional skim milk to the blender to help smooth everything out, then run the blender for about 30 seconds.
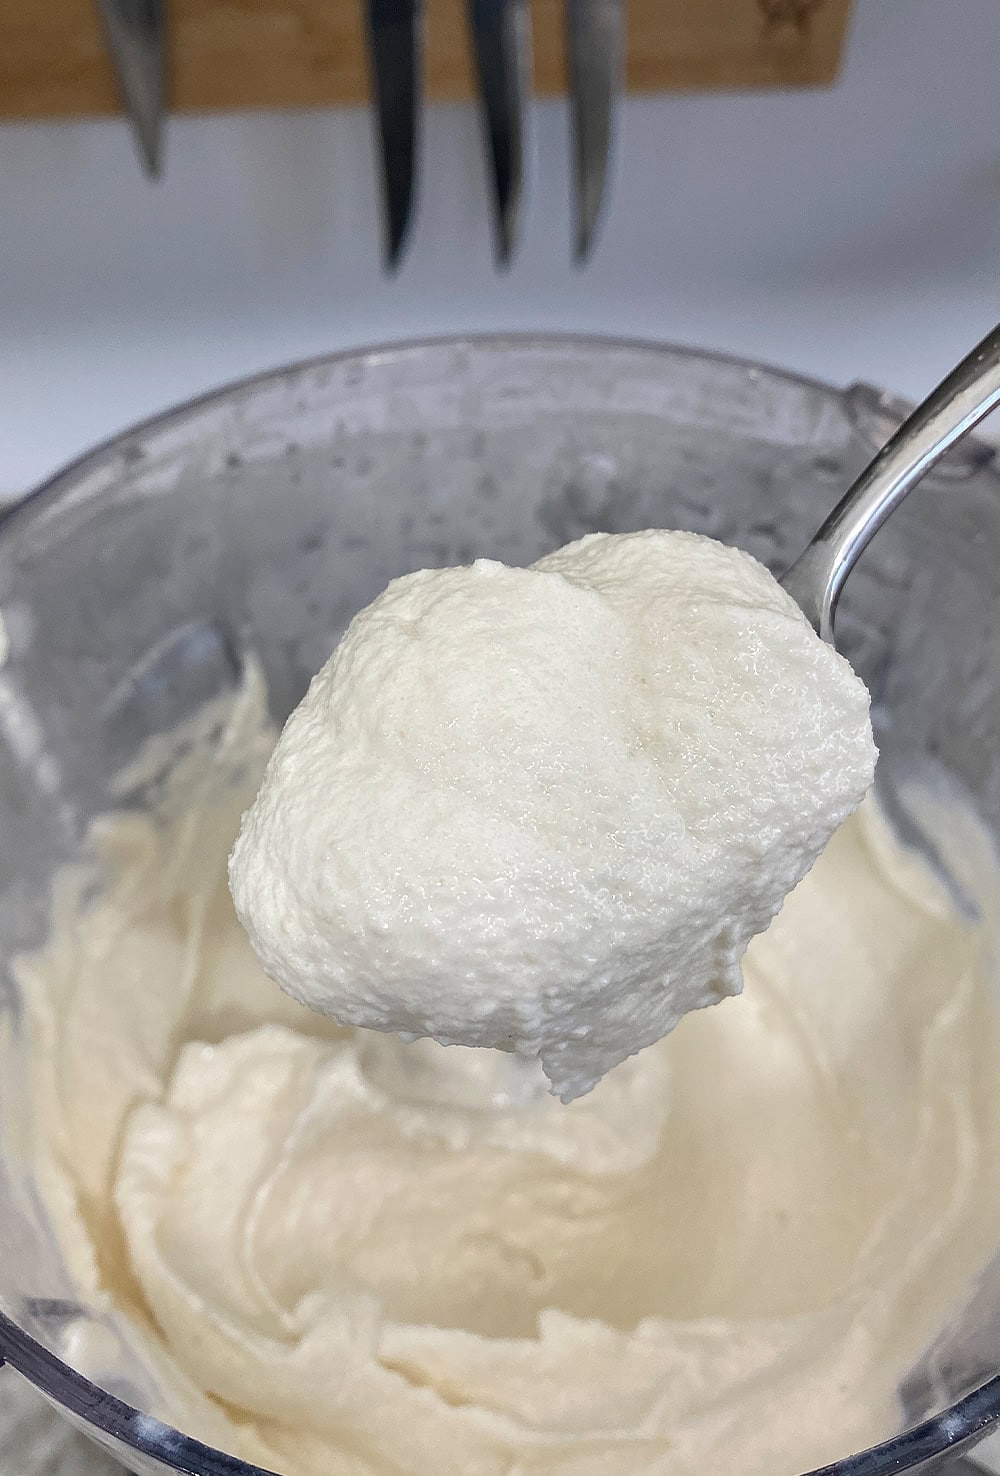
Scrape down the sides, then run on high for another 1-2 minutes until the milkshake smooths out and fluffs up.
When it’s ready to go, it will resemble soft-serve ice cream!
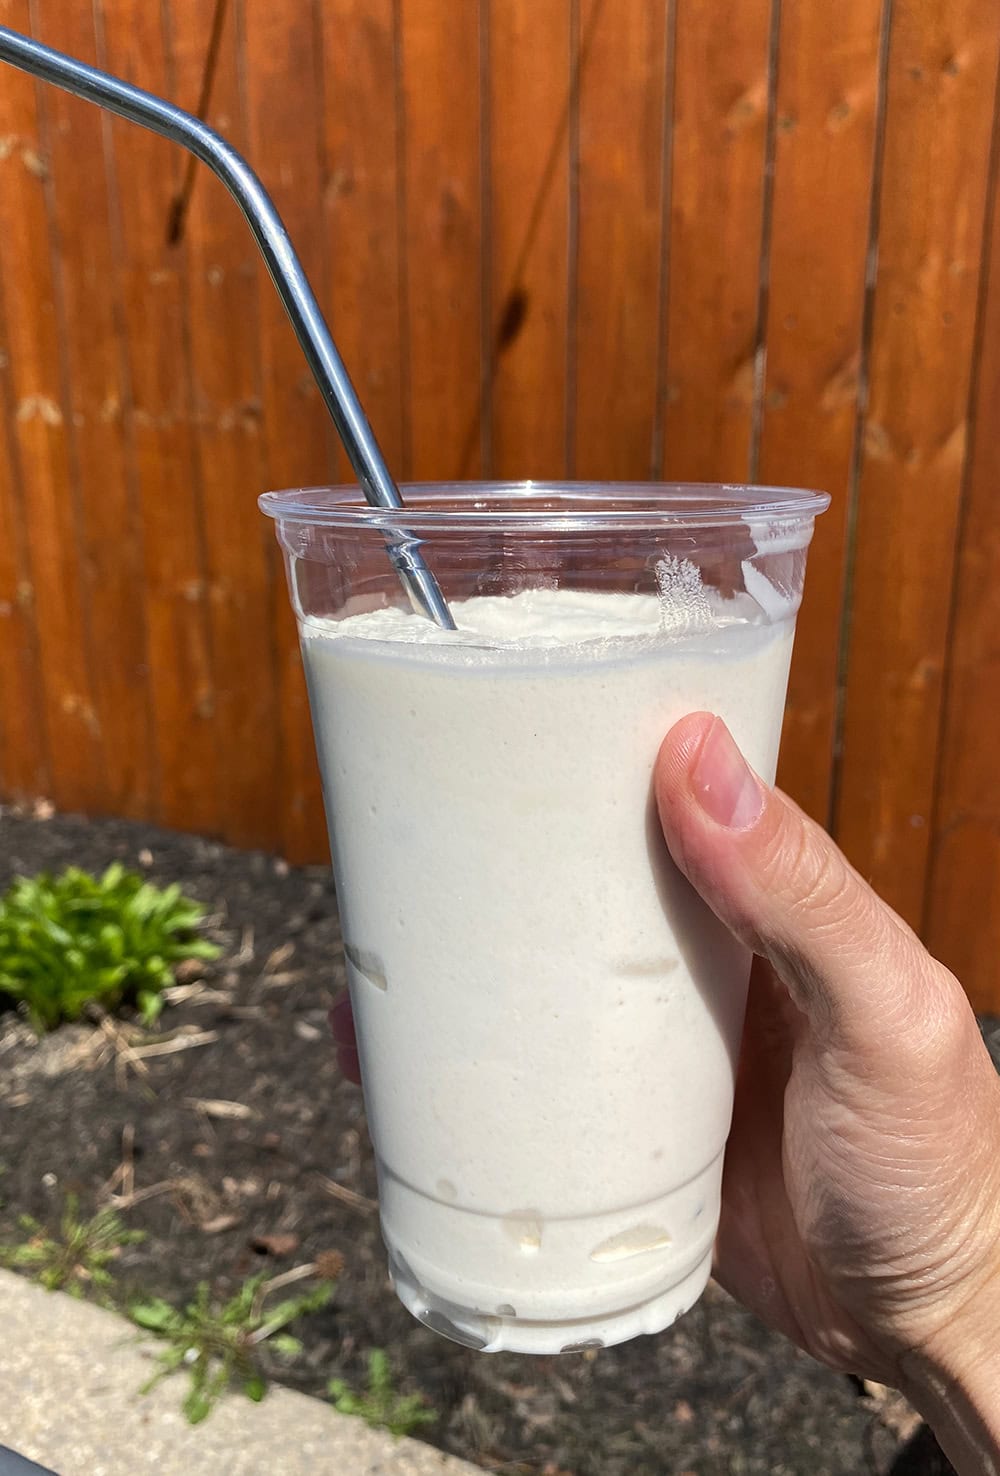
If you’re in the mood for a vanilla milkshake, then you’re ready to go! Simply pour the protein milkshake into a cup or glass and enjoy.
If you want to flavor your protein milkshake, it’s incredibly easy! Whether you want to prep my favorite milkshake (a cookies and cream protein shake) or make your own strawberry milkshake, chocolate milkshake, or anything else you can dream up, it’s very easy…
How to customize your protein milkshake
Creating your dream milkshake is incredibly easy. Since we’re starting with a basic vanilla milkshake base, all you need to do is add your mix-ins to the blender.
Follow the same instructions for the protein milkshake and blend up the mixture for 30 seconds or so. Then, when you scrape down the sides, add the mix-ins of your choice.
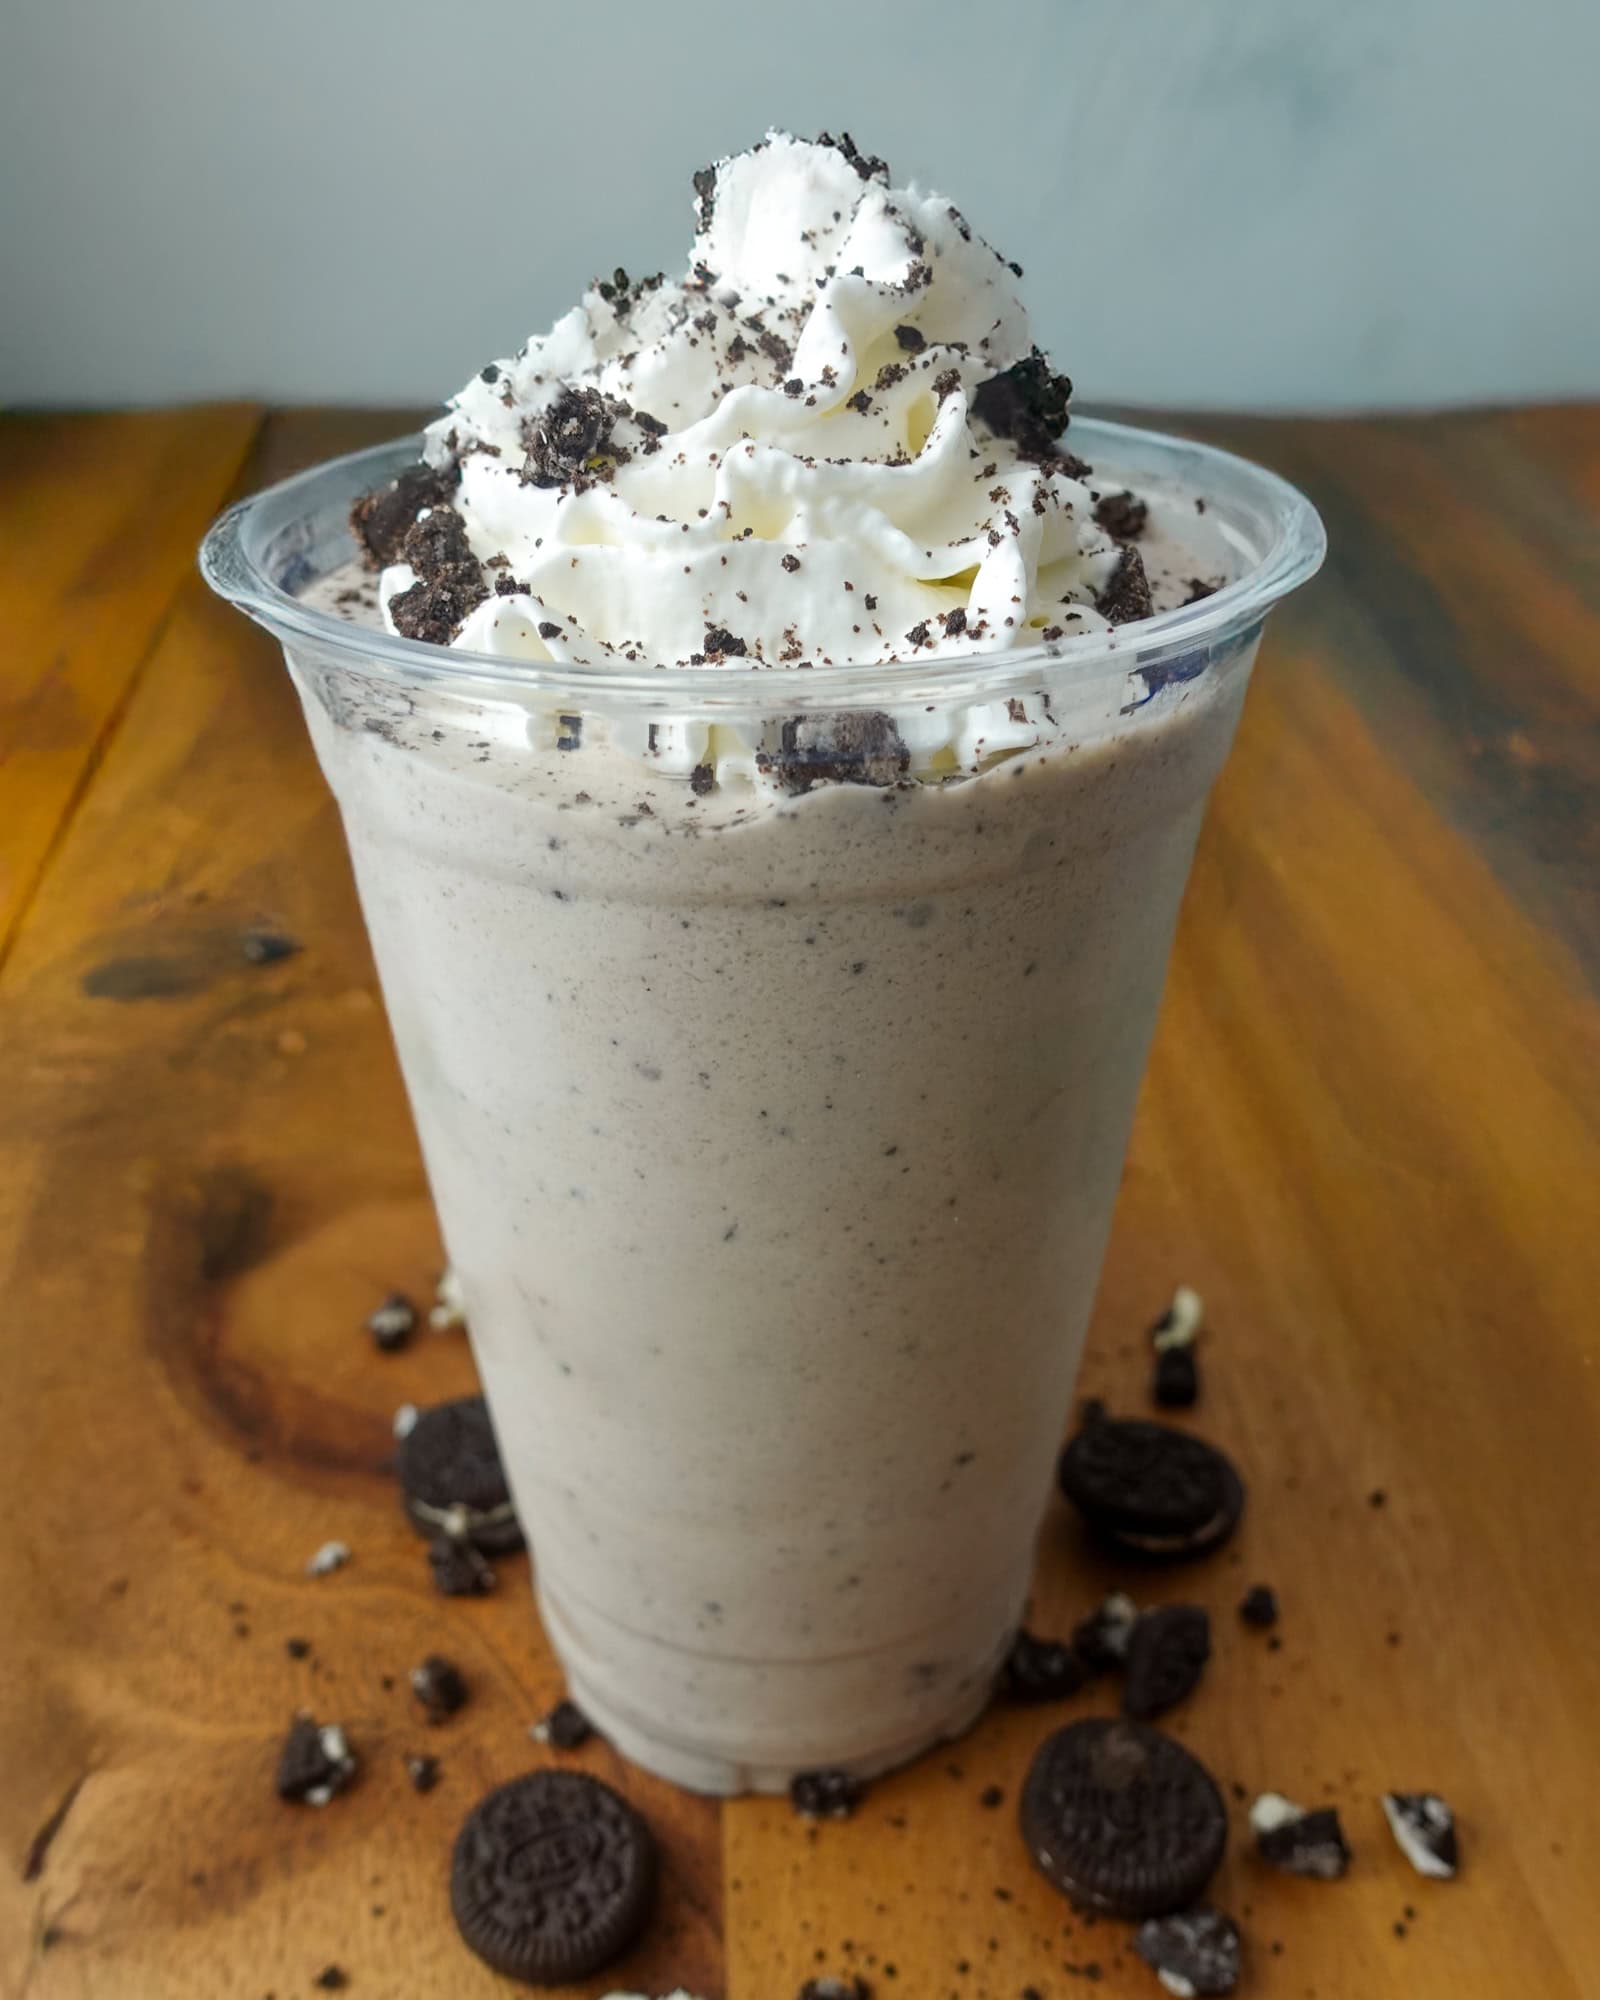
If you want to make a cookies and cream protein milkshake, I like to add 4-5 mini Oreo cookies (or 1 regular-sized Oreo), then run the blender on high for another minute or two until it becomes a thick Oreo milkshake.
Then, all that’s left to do is pour the cookies and cream protein milkshake into a large cup and add some additional Oreo crumbs on top (and whipped cream, of course).
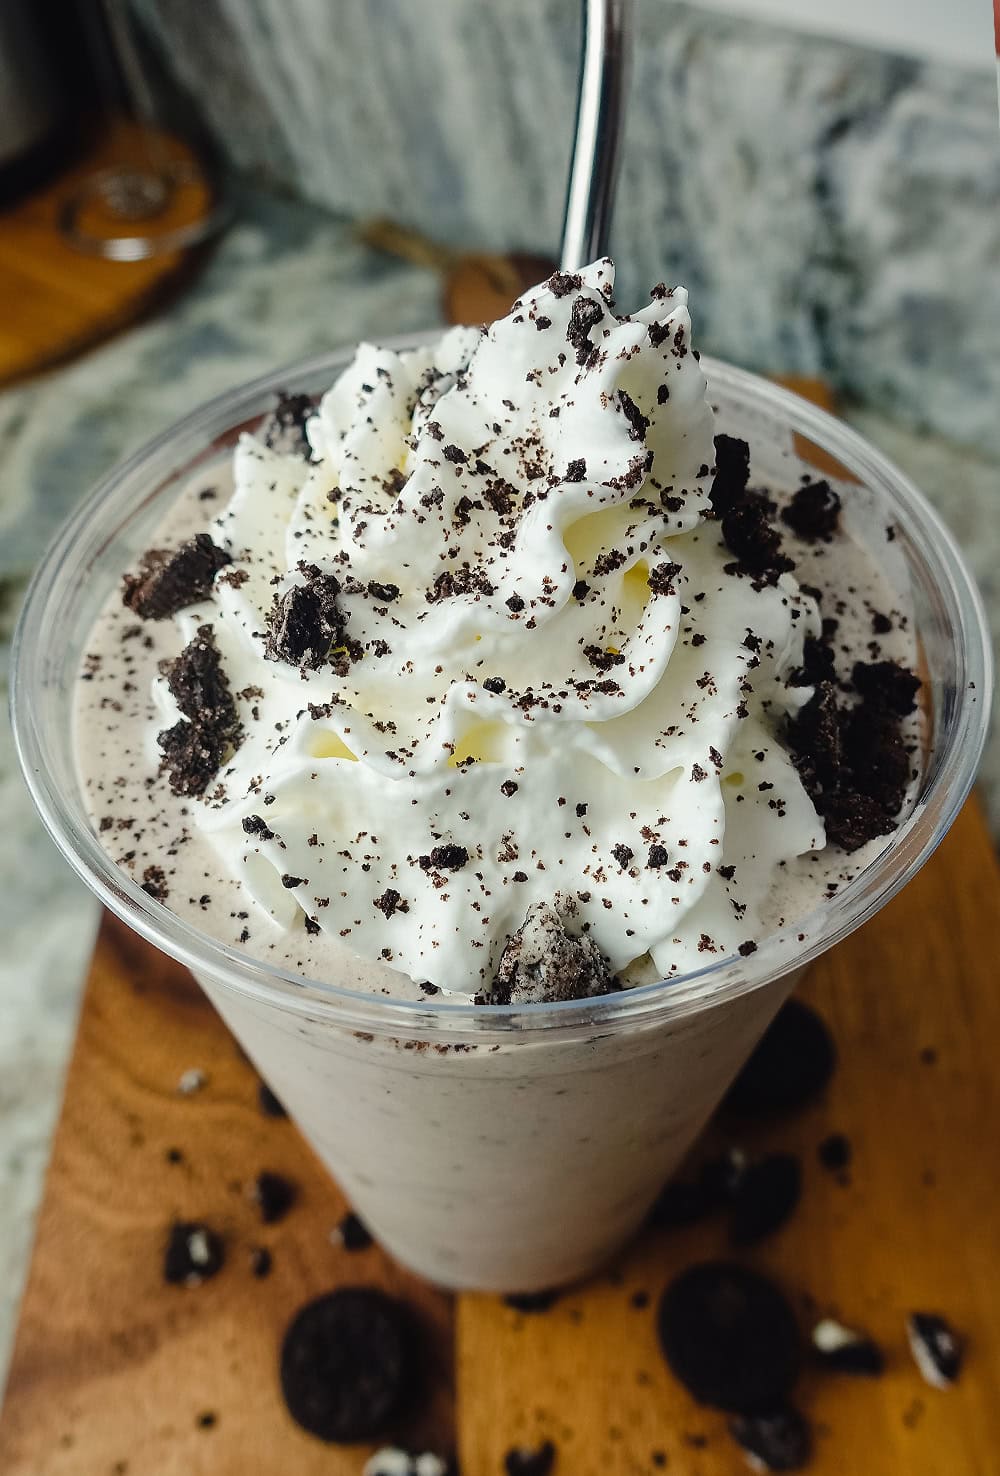
Please feel free to get creative with your toppings, though!
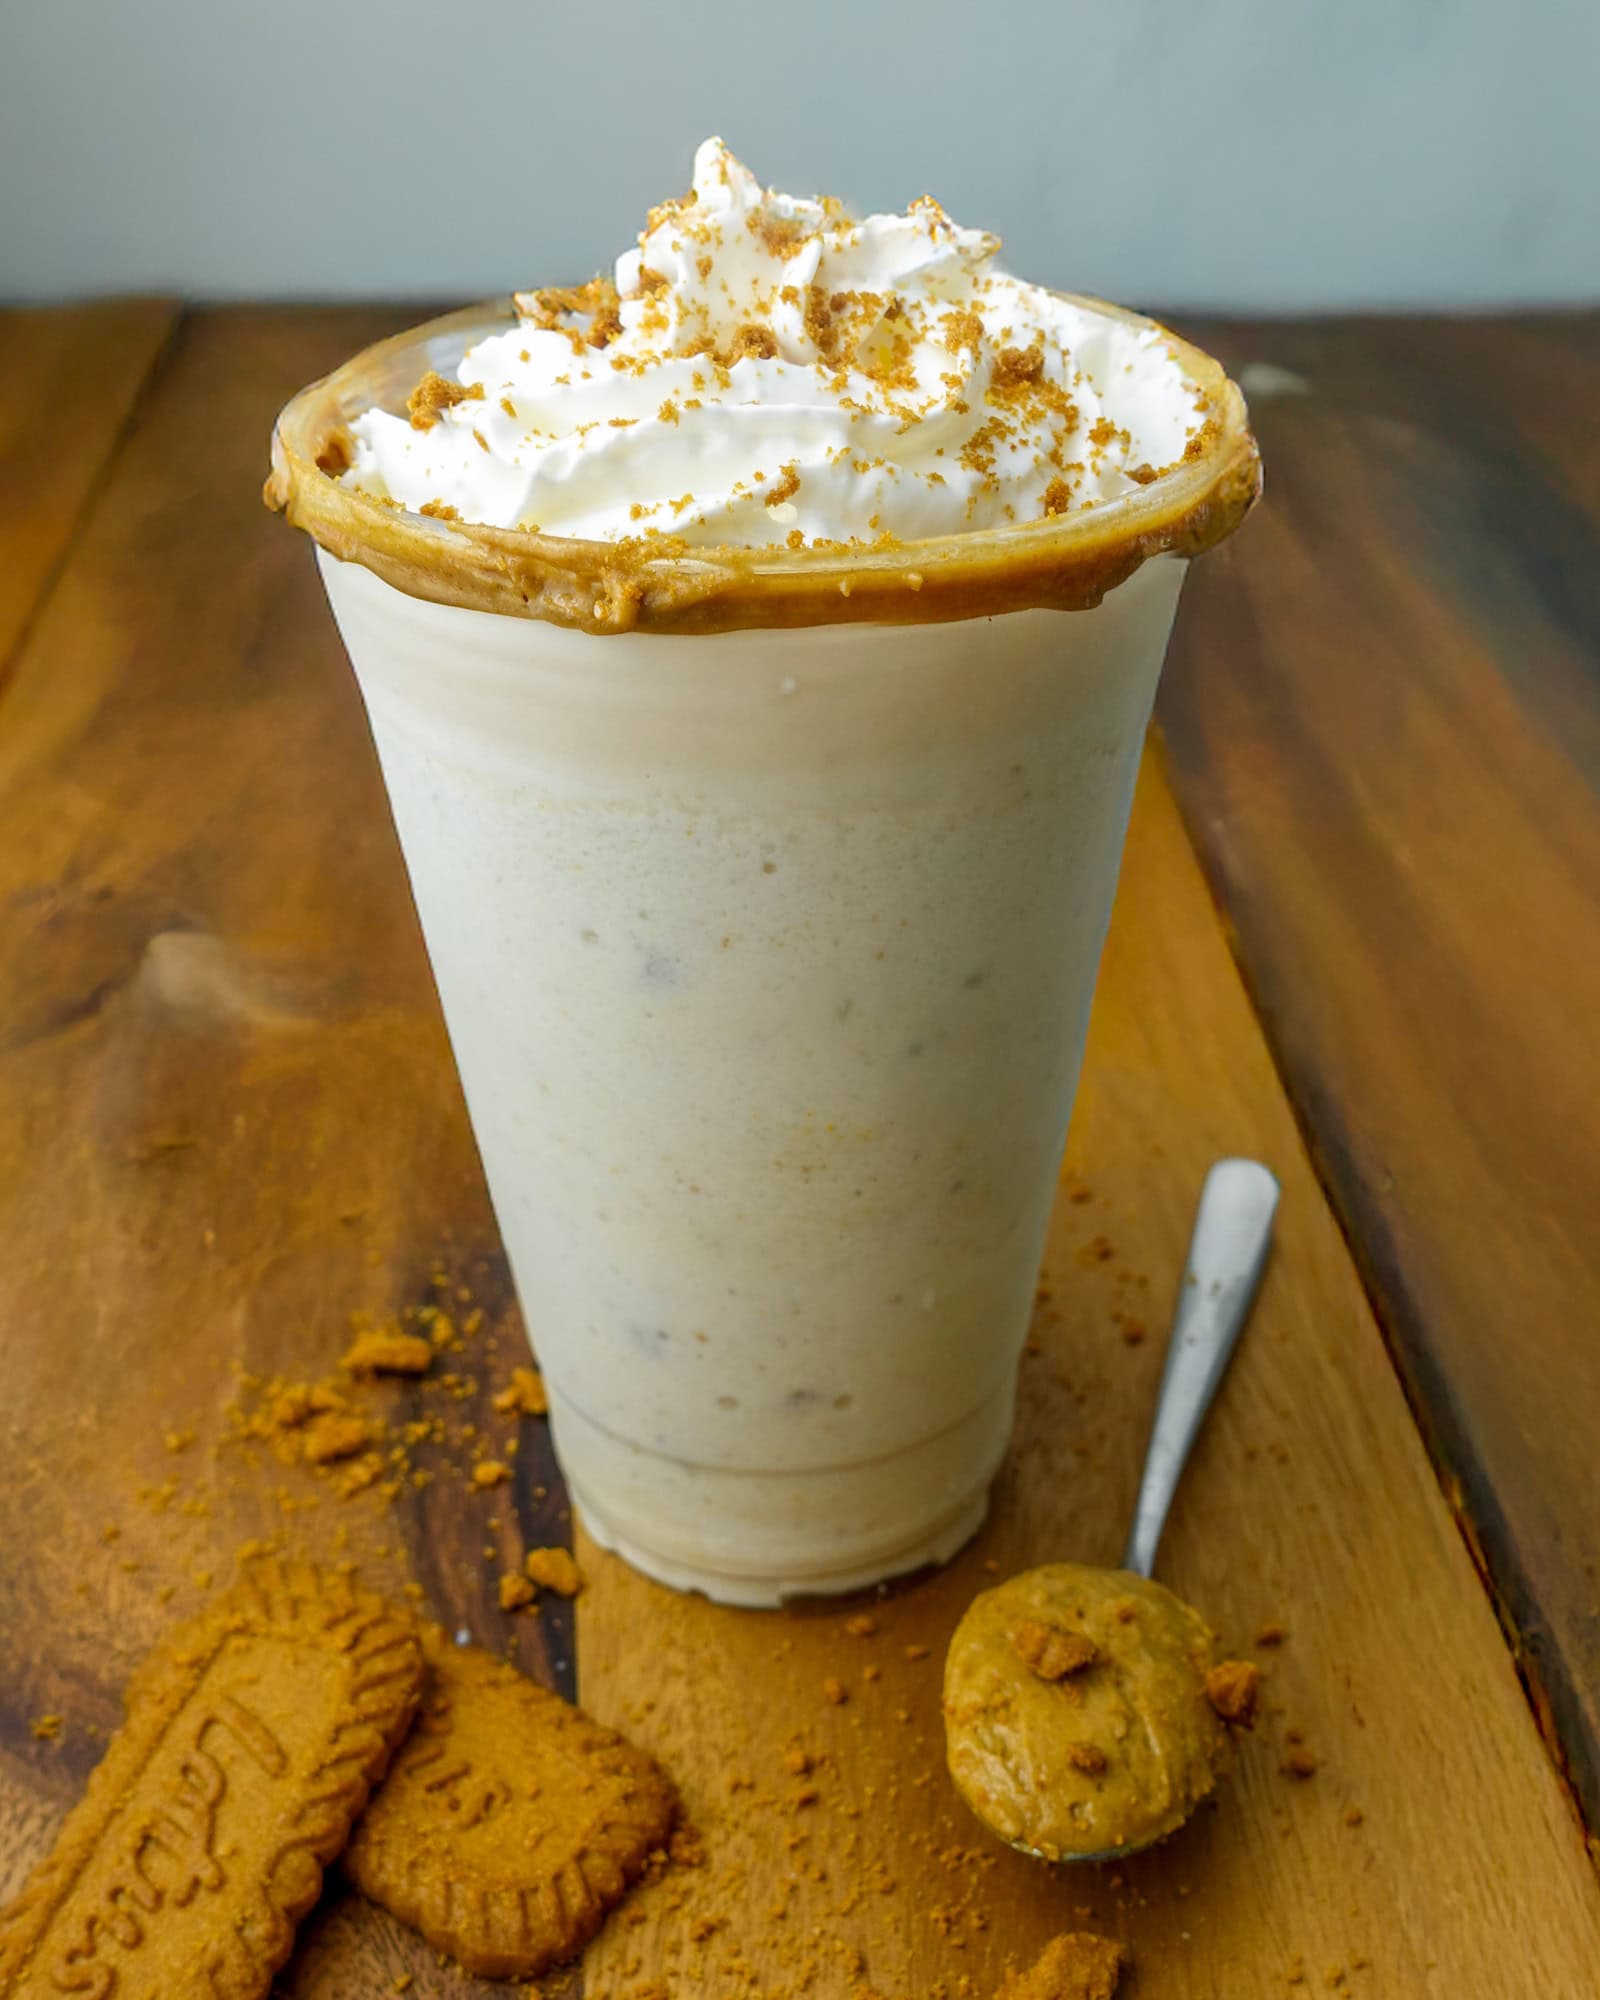
Outside of cookies and cream, the other milkshake flavor I love making is Biscoff cookie butter.
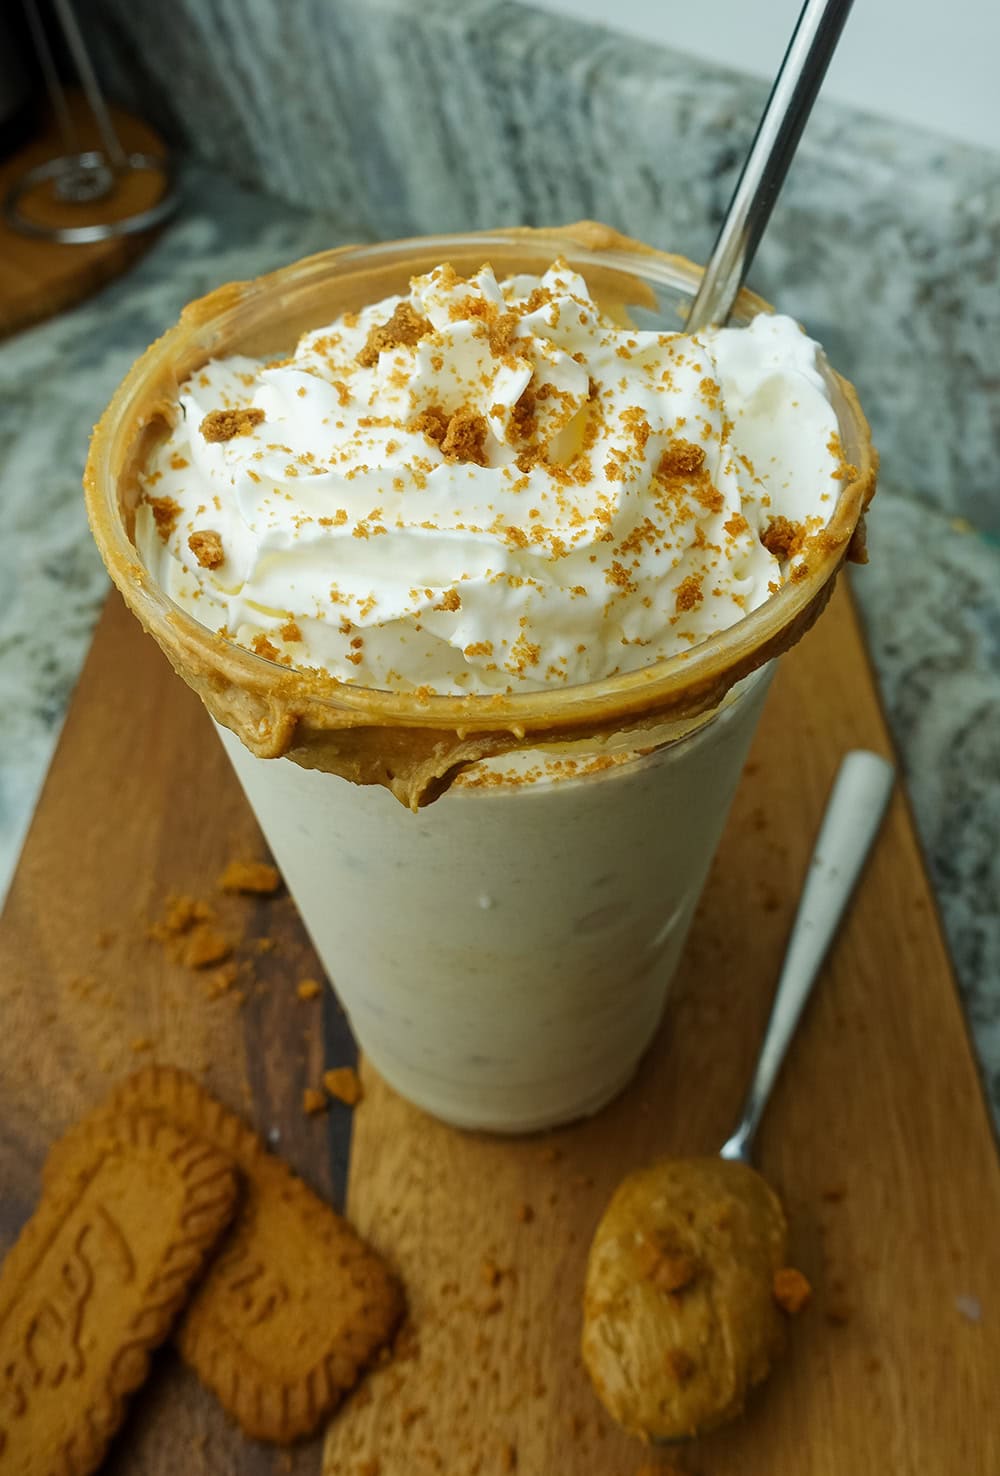
To make a cookie butter protein milkshake, I simply added 4 Biscoff cookies to the blender while making the protein milkshake.
Once done, I made a batch of my Protein Cookie Butter (highly recommend you check that one out) and spread it around the rim. You can add the cookie butter directly into the milkshake, but I couldn’t resist the aesthetic of having it around the rim.

Here are some other ideas for a delicious :
: Add one tablespoon of to the blender along with half a , then drizzle with another tablespoon of (melted) and mix in the rest of the chopped-up .
Add some to the blender while making the milkshake (you can also use a ) then top with some chips.
Very berry: Add about 1/2 cup (fresh fruit will work too) to the blender along with 1-2 tablespoons of preserves. Blend until smooth.
There’s truly no wrong way to make a , so don’t be afraid to experiment. If you need some additional inspiration, check out my overnight oats which has 10 different flavor ideas there for ya!
If you do experiment, please leave a comment below and let me know what you tried; I always love hearing your creative ideas.

Protein Milkshakes Perfect for Meal Prep
These protein milkshakes are the perfect way to meal prep a protein-packed breakfast! Simply mix up the base of the milkshake, freeze it, and add it to the blender with any toppings to create ANY flavor milkshake.
Ingredients
Vanilla Milkshake Base (For One Milkshake)
- 10oz Skim Milk
- 1 Scoop (32g) Vanilla Whey/Casein Blend Protein (Use code "Matt" to save 10% on PEScience)
- 2 tsp Vanilla Extract
- 10g Powdered Sugar Substitute
Additional Ingredients for Blender
- 2oz Additional Skim Mlk
- Any Mix-Ins of Your Choice!
Instructions
- In a bowl, whisk together all of the ingredients to make your vanilla protein milkshake base (10oz of milk, scoop of protein powder, vanilla extract, and powdered sugar).
- Add the contents to a large freezer bag OR an ice cube tray and freeze overnight. I like to pour it into a large bag and then lay it flat in the freezer, that way you can prep multiple batches and freeze them separately.
- Once completely frozen, break apart the frozen mixture and add to a high-speed blender or food processor with about 2oz of fresh skim milk.
- Blend the milkshake for about 20-30 seconds until it starts to smooth out.
- Scrape down the sides, then add any mix-ins you'd like. Cookies & cream (using Oreo cookies) and Biscoff cookie butter milkshakes are my favorites, but get creative with it!
- Blend on high for 1-2 minutes until the protein milkshake smooths out and fluffs up a bit.
- Pour into a tall cup, add some toppings (whipped cream is highly recommended), and enjoy!
Notes
- You can use any type of milk, but skim milk fluffs up better than any other options. See my cold foam recipe for a visual difference between skim milk and other milk options. Almond milk and other substitutes will not produce nearly as fluffy of a milkshake.
- PEScience protein powder is a blend of whey & casein protein, which fluffs up significantly better than whey protein alone. Without a quality protein blend, you won't get the same volume.
- To make a cookies & cream shake, I add 5 mini Oreo cookies to the blender, then top with a few more crushed-up Oreos. In total, it adds about 100 calories to the milkshake.
- You don't want to add toppings before freezing the mixture because it will affect the final texture (cookies or cereal will become soggy, for example).
- Note that I do not count sugar substitute in the nutrition facts since it contains 0 calories.
Recommended Products
As an Amazon Associate and member of other affiliate programs, I earn from qualifying purchases.


Nutrition Information
Yield 1 Serving Size Milkshake Without ToppingsAmount Per Serving Calories 255Total Fat 2gCarbohydrates 22gProtein 38g
This is a great recipe!!I usually never have liked smoothies.This one is a winner.Thanks for the recipe
Really glad you enjoyed it, Catherine!