Simple Strawberry Shortcake Ice Cream Bars Recipe
Is a strawberry shortcake bar the best thing you can order from the ice cream truck? You bet it is.
The classic ice cream bars, available from ice cream trucks worldwide, can now be made right in your own kitchen.
And if you don’t feel like waiting for the ice cream man to roll by, then how about making your own strawberry crunch ice cream bars at home? Armed with nothing but 4 simple ingredients, it’s actually much easier than you might think!

I mean, how amazing do these look? Believe it or not, they taste just as good as they look, too!
Don’t get me wrong, these do not dethrone the Good Humor Strawberry Shortcake Bars, those are simply perfect. But you’ll be shocked at just how similar this homemade version tastes.
Calorically, Good Humor ice cream bars are not all that bad. At 160 calories per bar, you could do much worse in a dessert. But I love putting a “healthy” spin on desserts, so our homemade ice cream bars are even lower in calories.
In fact, these homemade strawberry shortcake ice cream bars contain just 80 calories and 8 grams of sugar, most of that sugar coming from actual strawberries, or a little from the strawberry jam you might choose to add for an extra burst of flavor.

We’re using real strawberries in the ice cream AND for the coating, giving you a fair amount of fruit in every serving. There’s nothing better than that.
Now, let’s get to the fun part. Grab a bowl and prepare for the perfect treat on a hot summer day.
How to make these strawberry shortcake ice cream bars
This recipe has three steps: the first is making our strawberry ice cream bar base, the second is the signature strawberry shortcake coating, and the last one is assembling the strawberry shortcake ice cream bars.
Step 1: Making the strawberry ice cream
To make our filling, we’re going to blend some strawberries into a strawberry mixture and combine them with some light vanilla ice cream.
You can certainly use frozen strawberries if you have them on hand, but fresh strawberries work very well and in my opinion, give the best flavor.
You can use strawberry jam in place of strawberry puree, or you can even use strawberry ice cream or strawberry sorbet to skip this step altogether.

However, I love the flavor that the fresh strawberries give to these strawberry shortcake ice cream bars.
In the past, I’ve blended all of the ingredients together, but I’ve come to realize that blending the ice cream adds excess air into the mixture and causes the popsicles to freeze much harder.
If you have a slow-churn ice cream maker, that would be a great way to mix the strawberry puree into the creamy vanilla ice cream, but using a spoon in a large bowl works just fine.

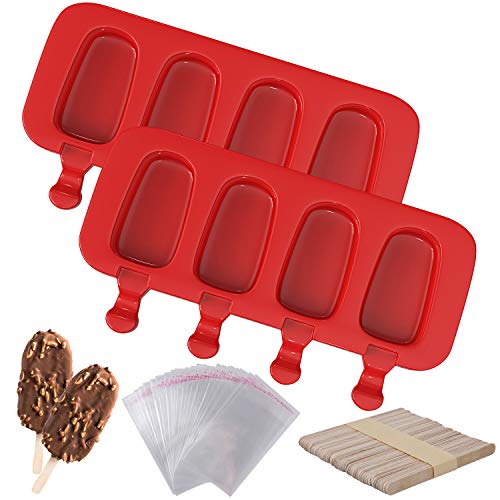
Pour the mixture into popsicle molds (it will make enough for 3 popsicles) and add to the freezer for about 3-4 hours or so. You can certainly freeze for longer, like overnight, but when I tested mine, they were the perfect consistency after about 3 hours: totally frozen, but still nice and soft.
Step 2: Making the strawberry shortcake coating
You’re gonna be shocked at just how easy it is to make the coating for your strawberry shortcake ice cream bars.
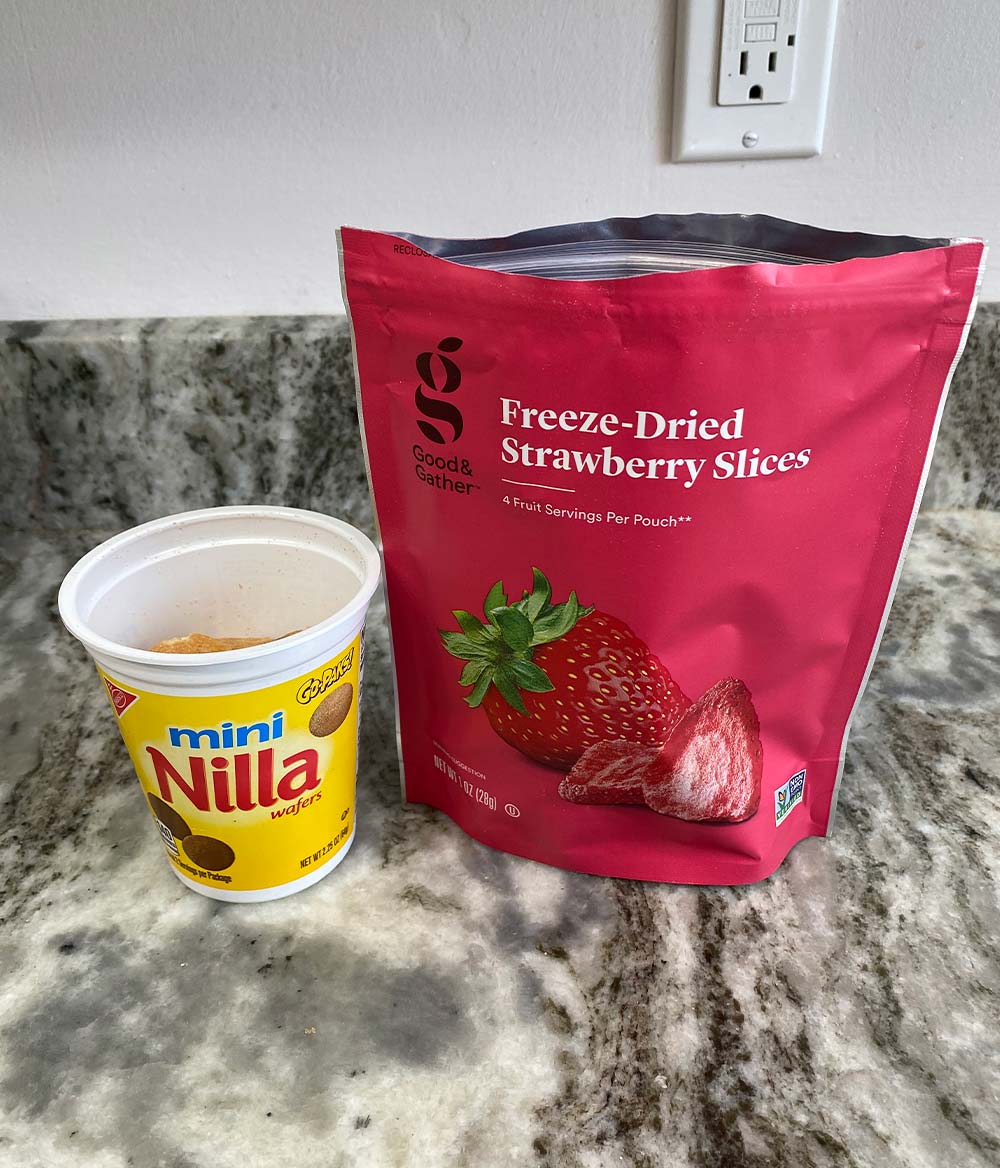
All we need are some vanilla wafers and freeze-dried strawberries!
I’ve seen other recipes that use Golden Oreos for the crumb, which I’m sure is absolutely delicious, but I stuck with Nilla Wafers to keep the calories lower. Whether you use Golden Oreo Cookies, Nilla Wafers, or shortbread cookies, the end result is going to be delicious.
Simply add the ingredient to a small sealable bag and crush them up with a rolling pin. You can use a blender or food processor, but I like to have control over the size of the crumbs. If using a food processor, just make sure you don’t blend everything up into a cookie & strawberry powder.
Much of the appeal of Strawberry Shortcake Popsicles is the delicious crispy coating, so we want to mimic that as much as possible without getting a fine powder.

That’s it! Your coating is ready to go.
We’re only going to need about half of the coating to coat the outside of the ice cream bars, but I like making more than needed because it makes dipping the bars significantly easier.
Step 3: Assemble the strawberry shortcake ice cream bars
Once your strawberry ice cream bar bases are fully frozen, remove them from the freezer and allow them to soften a bit to room temperature. I find that it’s easier to remove the popsicles from the freezer while prepping the coating to allow them to soften.

Take each popsicle and dip it into the strawberry shortcake crumb that you made. If the popsicles are too frozen, the coating won’t stick very easily, so that’s why we allow it to soften a bit.
If you need to hack the system a bit, you can even toss the bars into the microwave for about 10 seconds to help them soften.
Use your hands to press the coating into the bars to make sure all sides are completely covered, then add them to a sheet of parchment paper.
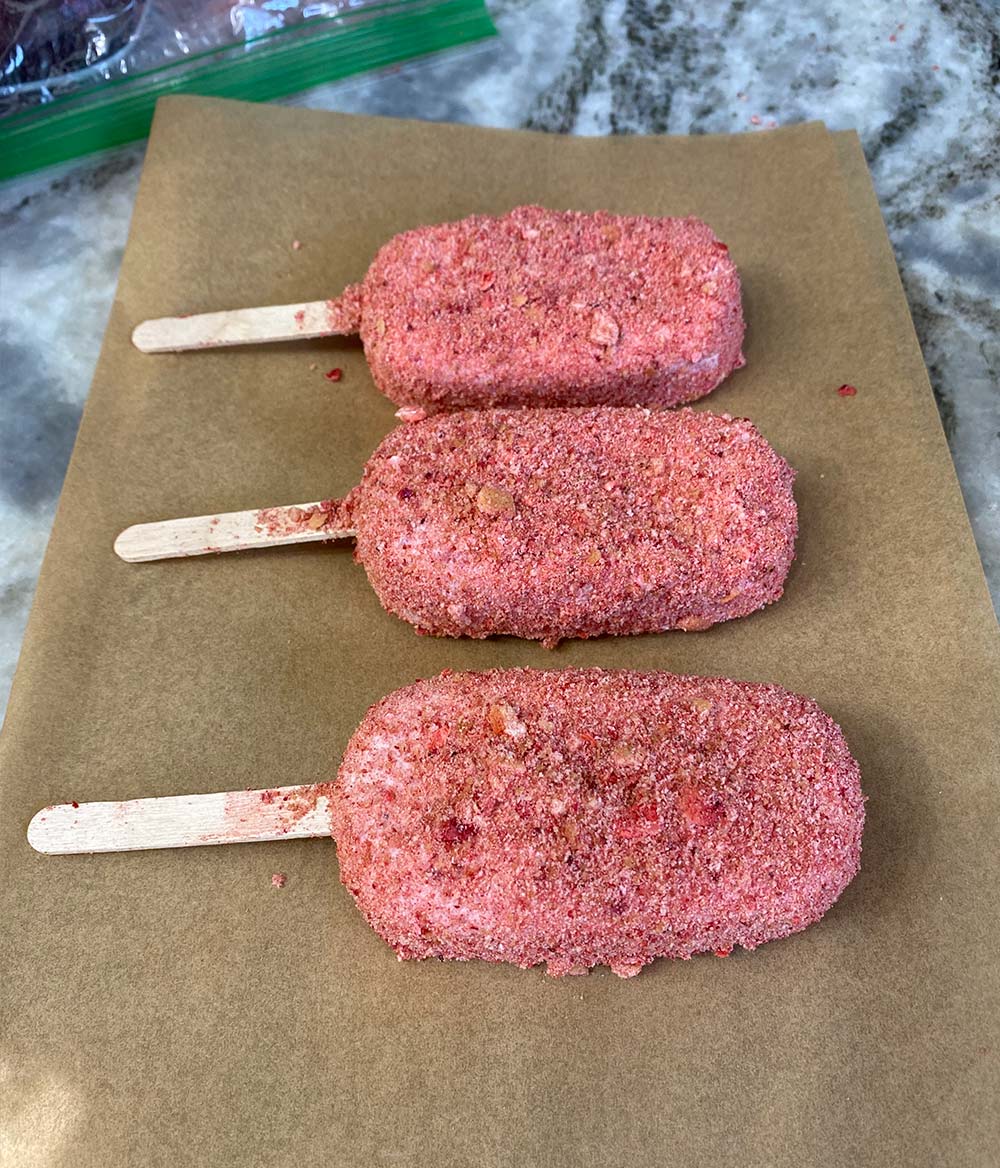
Return your ice cream bars to the freezer for one more hour to allow the coating to harden and for the flavors to marry a little bit.
These bars hold up great in the freezer, so if you want to enjoy them later in the week, simply wrap them in aluminum foil or plastic wrap to prevent freezer burn and they’ll be good to go!

Note that the coating isn’t going to be quite as crunchy as the Good Humor bars, but that’s because we’re using real strawberries here. While the texture may be slightly different, the taste is spot-on!
Trust me on this one.
More ice cream recipes to enjoy this summer
Personally, I’ll enjoy ice cream any time of the year, but it’s summer at the time of posting this, so we are right in the heart of ice cream season.
If you want to enjoy even more delicious ice cream recipes, I’ve got a bunch of awesome ice cream recipes to check out.
I like to keep things simple, so you won’t need an ice cream machine to make any of these recipes. Here are some of my favorites:
- High-Protein Soft Serve Ice Cream Without Protein Powder
- Dairy-Free Chocolate Peanut Butter Cookie Dough Blizzard
- High-Protein Biscoff Ice Cream Bars
- Easy “Fried” Ice Cream
- Healthier Homemade Choco Tacos

Simple Strawberry Shortcake Ice Cream Bars
Hands down, the best thing you can order from an ice cream truck is the Strawberry Shortcake Bars! And while it's impossible to beat the real thing, these homemade ice cream bars with a bit of a healthy spin are a delicious treat.
Ingredients
Ice Cream Filling
- 1 Cup Fresh Strawberries
- 100g (about 3/4 Cup) Light Vanilla Ice Cream of Choice (I used Halo Top)
- Optional: 5-10g Sweetener
Strawberry Shortcake Coating
- 30g Nilla Wafer Cookies
- 10g Freeze-Dried Strawberries
Instructions
- Remove your vanilla ice cream from the freezer and allow it to sit out for about 10 minutes to soften. If you need to quickly soften the ice cream, it can be microwaved for 10-15 seconds as well.
- While the ice cream sits, cut the tops off of your fresh strawberries, and measure out roughly 1 cup. Add to a high-speed blender or food processor and blend until smooth.
- Optional: Add a small amount of sweetener to the strawberries to enhance the flavor.
- Add the ice cream and pureed strawberries to a bowl and mix to combine. Note: I used to blend everything together, but I've found that blending the ice cream leads to too much air being added and the resulting popsicles are much harder.
- Pour the ice cream mixture into your popsicle mold (should fill 3, but will depend on the size of your mold) then freeze for 3-4 hours, or overnight.
- Once the popsicles are frozen, remove them from the freezer to allow them to soften slightly while you make the strawberry shortcake coating.
- Add the vanilla wafers and freeze-dried strawberries to a sandwich bag and smashing them into crumbs. You can also use a food processor for this step, just be sure to not completely blend them down into fine crumbs. Larger pieces are what will give these popsicles texture.
- Pour this mixture onto a plate or wide bowl for dipping.
- Dip the popsicles into the mixture and use your hand to lightly press the mixture onto the surface until fully coated. If the coating is not sticking, you will want to wait for the popsicles to thaw for a few more minutes. Note that you will only need about half of the total mixture if making 3 popsicles.
- Put the finished strawberry shortcake bars on parchment paper or foil and freeze for one more hour for the coating to harden, then enjoy!
Notes
- Make these gluten-free by using gluten-free vanilla wafers or a comparable cookie.
- You can easily make vegan strawberry shortcake ice cream bars by using dairy-free vanilla ice cream for your creamy ice cream base.
- If you are having a hard time getting the coating to stick to the ice cream bars, you can even microwave the bars for 10 seconds to help them soften quickly.
- I have previously made these popsicles with Cool Whip and it worked very well. You can follow the same measurements and swap the ice cream for cool whip if you prefer.
Recommended Products
As an Amazon Associate and member of other affiliate programs, I earn from qualifying purchases.
Nutrition Information
Yield 3 Serving Size 1 BarAmount Per Serving Calories 80Total Fat 1.5gCarbohydrates 16.5gFiber 3.5gSugar 8gProtein 3g