Espresso Chocolate Chip Popsicles
After the success of my soft serve ice cream recipe, I officially decided to dabble in the popsicle game.
My ice cream recipe requires freezing some evaporated milk and then using a food processor to whip the frozen mixture into a soft, fluffy ice cream. My initial failed attempt at the ice cream entailed me whipping up the mixture first and THEN placing it in the freezer. The problem was that it froze completely solid due to the air whipped into the mixture and the lack of fat.
That being said, I knew that similar approach would make for great popsicles, and I was right!
I’m a huge fan of Yasso Frozen Yogurt Bars (no ad, I just really enjoy them), and my favorite flavor is the coffee chocolate chip. So, I figured my first attempt at popsicles would be very similar!
If you’ve made my soft serve ice cream before, you’re in luck: we’re going to be using most of the same ingredients, with the obvious additions of espresso and chocolate chips.
And if you can believe it, each of these popsicles is only 30 calories! You can eat 12 popsicles for the same calories as a typical pint of “protein ice cream”. It sounds too good to be true, but it’s very true!
Most popsicle recipes are simply making a liquid mixture and freezing- but we’re going one step further here. By whipping the mixture first before freezing, we’re going to effectively double the mixture! Doing this means we can make twice as many popsicles with half the calories- score!
Any high speed blender will work to whip the mixture, but a good food processor changes everything. I’ve recently started using this Ninja food processor and it has changed everything for me. If you want a really smooth result, I highly recommend picking up a quality food processor! If all else fails, you can use a hand mixer, you just may not get quite the same amount of volume.
The Main Ingredients We’re Using…
The ingredients we’re using are the same as my soft serve ice cream recipe, but the substitutions are going to be a little more generous here. If you check out that recipe, you’ll see the substitutions I tried and how they turned out. Since we don’t need a specific consistency here, you have some more room for experimenting, but here is what I used…
- Evaporated Milk: I’d like to point out that this is different from condensed milk! They’re very similar, but condensed milk is going to have a ton more calories, so be careful. Both evaporated milk and condensed milk are milk that has had most of the water removed, resulting in a thicker, creamier product. But the major difference is that sweetened condensed milk contains a ton of sugar and calories, and evaporated milk is unsweetened, containing only the sugars found in milk. You CAN buy evaporated milk with fat, but I went with the fat free variety for this recipe…
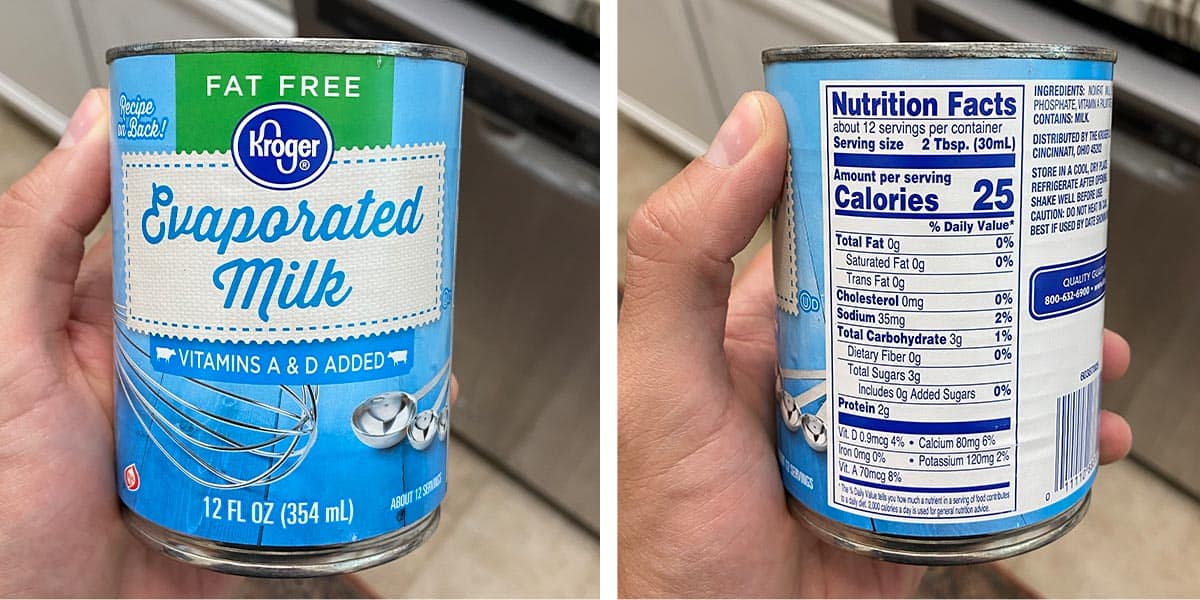
- The whole can is 300 calories, and those are the main calories contributing to our popsicles! I love using evaporated milk because it whips very well- when we add it to a food processor, it doubles in volume. But if you can use any milk you want for this recipe- you just might not get the same amount of volume at the end.
- Powdered Sugar Substitute: I typically use Swerve in my recipes because I thoroughly enjoy the taste- a lot of sugar substitutes taste really fake, and this is the closest to the real thing I’ve been able to find. You can use regular powdered sugar in this recipe, or any other brand you have, and it’ll work just as well. If you don’t have any powdered sugar at all, make your own! You can throw the any granulated sugar into a spice grinder or food processor to make your own super easily. *Note that I don’t count sugar substitute in my carb count since they provide no caloric value.
- Vanilla Extract: A good vanilla extract makes a world of difference. I’ve always purchased Imitation Vanilla because it’s significantly cheaper, and it has worked for most recipes, but a true vanilla extract tastes SO much better. Vanilla extract is sometimes up to 5x more expensive than imitation vanilla, so I totally understand if you opt for the imitation stuff. However, if you have access to a Target, they have a great vanilla extract for way cheaper than I’ve ever seen at a grocery store!

- Instant Espresso: Instant coffee will work just the same, but I much prefer the flavor you get from espresso- it’s a darker, richer flavor. Either way, I highly recommend using an INSTANT espresso or coffee to regular ground coffee- not only will it give you a better flavor, but it will dissolve completely and not leave you with any grittiness. If you don’t have any instant coffee, you can grind your own- just be sure to grind it as finely as possible to help it absorb and not be too gritty overall.

- Mini Chocolate Chips: Any chocolate chips work, but I went with mini chips here. If you only have regular chocolate chips, you might want to break them up a little bit so you’re not getting huge chunks of chocolate in your popsicles (unless you’re into that, of course).
That’s all there is to it! Throw it all into a food processor, then freeze!

Step 1: Add all of your ingredients into a food processor or high speed blender

Step 2: Let it run on high until the volume doubles

Step 3: Add thalf of your chocolate chips to your popsicle molds

Step 4: Fill your popsicle molds with the mixture, add the rest of your chocolate chips, then freeze
Important Notes
There are a few quick notes I want to hit you with before you dive into the recipe:
- It’s very important for your evaporated milk to be cold! I keep mine stored in the fridge, but if you forget, you can throw the can into the freezer for 30 minutes before making your popsicles. I can’t lie and say I understand the science, but the evaporated milk is only going to whip up well if it’s cold!
- I ended up having enough mixture for 12 popsicles, but I only have 6 molds, so I saved half the mixture in the fridge. It won’t keep forever since it’s dairy, but you can keep it in the fridge for a few days before freezing. If you’re feeling spunky and have leftover mix like I did, you can turn it into ice cream with this recipe. All you need to do is follow the freezing directions, then blend it up later on! Espresso ice cream actually sounds amazing…
- Most popsicle molds have you pouring your mixture in vertically, but that means that most of the chocolate chips will settle. If you have a vertical mold, I would fill the molds halfway and then add some chips so they sit in the center. But I definitely recommend these molds I just bought!
You can customize these however you want! Flavor ’em to your heart’s desire, and if you make them, please tag me on Instagram or send me your creations so I can see the creativity!

Espresso Chocolate Chip Popsicles
Because everyone knows that coffee is better cold- so why not freeze it?
Ingredients
- 12oz (1 Small Can) Fat Free Evaporated Milk
- 60g Powdered Sugar Substitute (I used Swerve)
- 2 tsp Vanilla Extract
- 2 tsp Instant Espresso Powder (or Instant Coffee)
- 1 pinch Salt
- 15g Mini Chocolate Chips
Instructions
- Make sure your can of evaporated milk is cold! I recommend storing the can in the fridge overnight before you plan to make these popsicles, but you can also throw it in the freezer for 30 minutes or so to get it nice and cold (being cold is necessary to whip it up well).
- Add everything except the chocolate chips to a food processor or high speed blender. Blend on high for a couple minutes until the mixture doubles in size. Note that you can add as much or as little espresso powder as you’d like! You can start with 1 teaspoon and taste it to judge how much to use, but I used 2 teaspoons.
- Add half your chocolate chips to your popsicle molds, then pour in your mixture, then add the rest of the chocolate chips. If you don’t have enough molds, you can add the rest of the mixture to the fridge or use it for the ice cream recipe.
- Let freeze according to your mold’s directions (each mold freezes differently) but I recommend just letting them freeze overnight to be safe.
Nutrition Information
Yield 12 Serving Size 1 PopsicleAmount Per Serving Calories 30Total Fat 0.5gCarbohydrates 4gProtein 2g
Thank you! 🙂